To install HammerDB on Windows you have the option of using the self-extracting installer or zipfile. The self-extracting installer will create an uninstall executable for you. A zipfile installation can be deleted manually. In both cases the install is entirely self-contained within the installation directory.
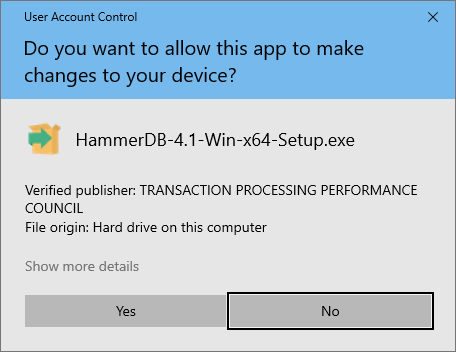
Double click on the Setup file the installer will confirm the Verified Publisher as the TRANSACTION PROCESSING PERFORMANCE COUNCIL. Click Yes to start the installation.
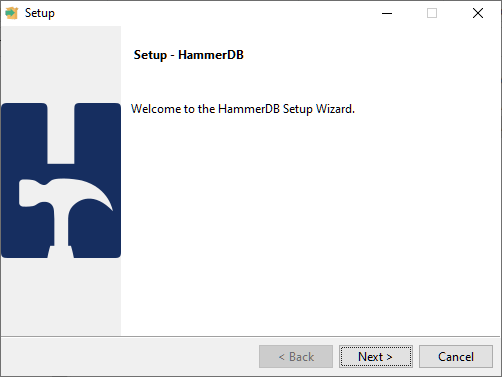
Click continue to begin the installation.
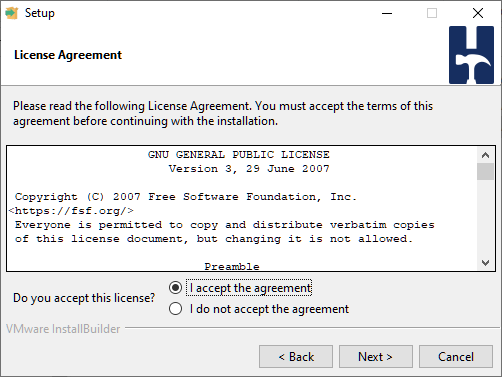
Read and Accept the GPL License Agreement.
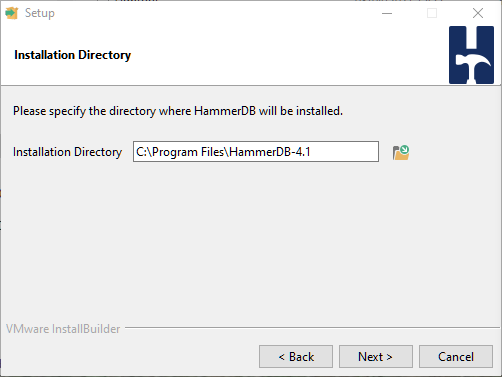
Choose the installation directory.
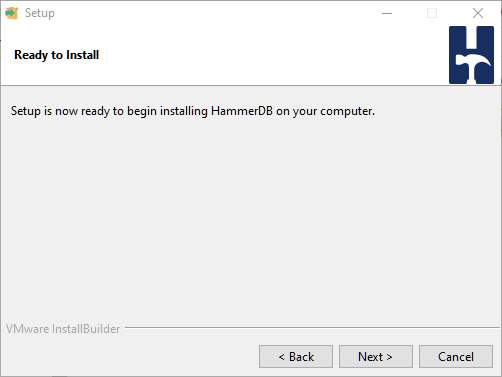
Press Next to begin the install.
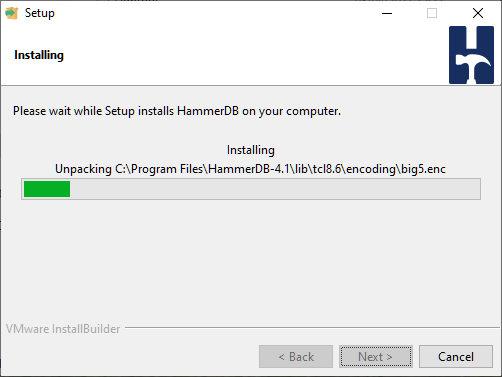
The installer will extract the files into the chosen directory.
Complete the Install by viewing the Readme File and running HammerDB. If both options are chosen HammerDB will run after the Readme is closed.
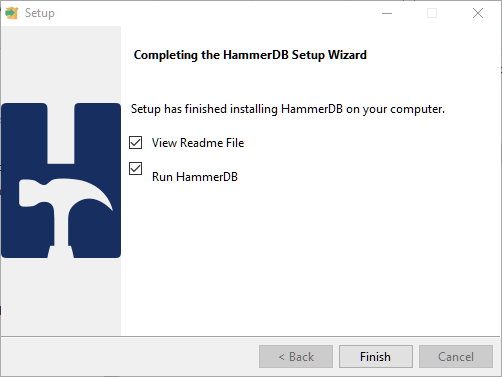
HammerDB will start ready for you to use

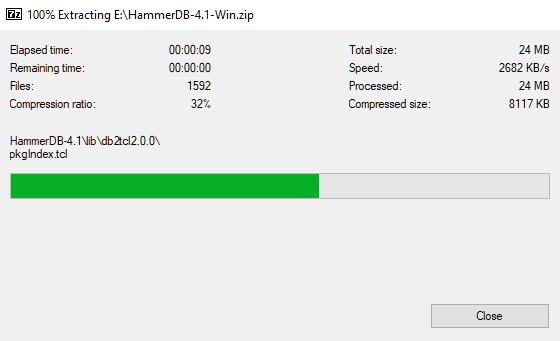
As an alternative to the self-extracting installer you can download and extract the zipfile into a directory of your choice.
After installation double-click on the "Windows Batch File" hammerdb to start hammerdb.